Enify Screens is a tool designed to give you total flexibility in managing the physical PC screen environment, whether you have 2 on your desk or 20 on a display wall. Here's how you can use it.
Access level:
🏳️ Admin
To get started, you access to the Screens tool. This can be found at the top right of the menu in Enify, if you have the appropriate access level:
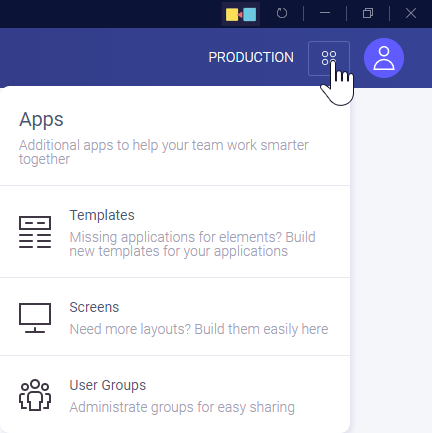
1. Click Screens to open the Environment page. In this page you will find an overview of all available Environments already set up for your team. An Environment is the representation of the physical screens and their arrangement; this will generally correspond to what you see on your Windows Display Settings.
CREATE ENVIRONMENT:
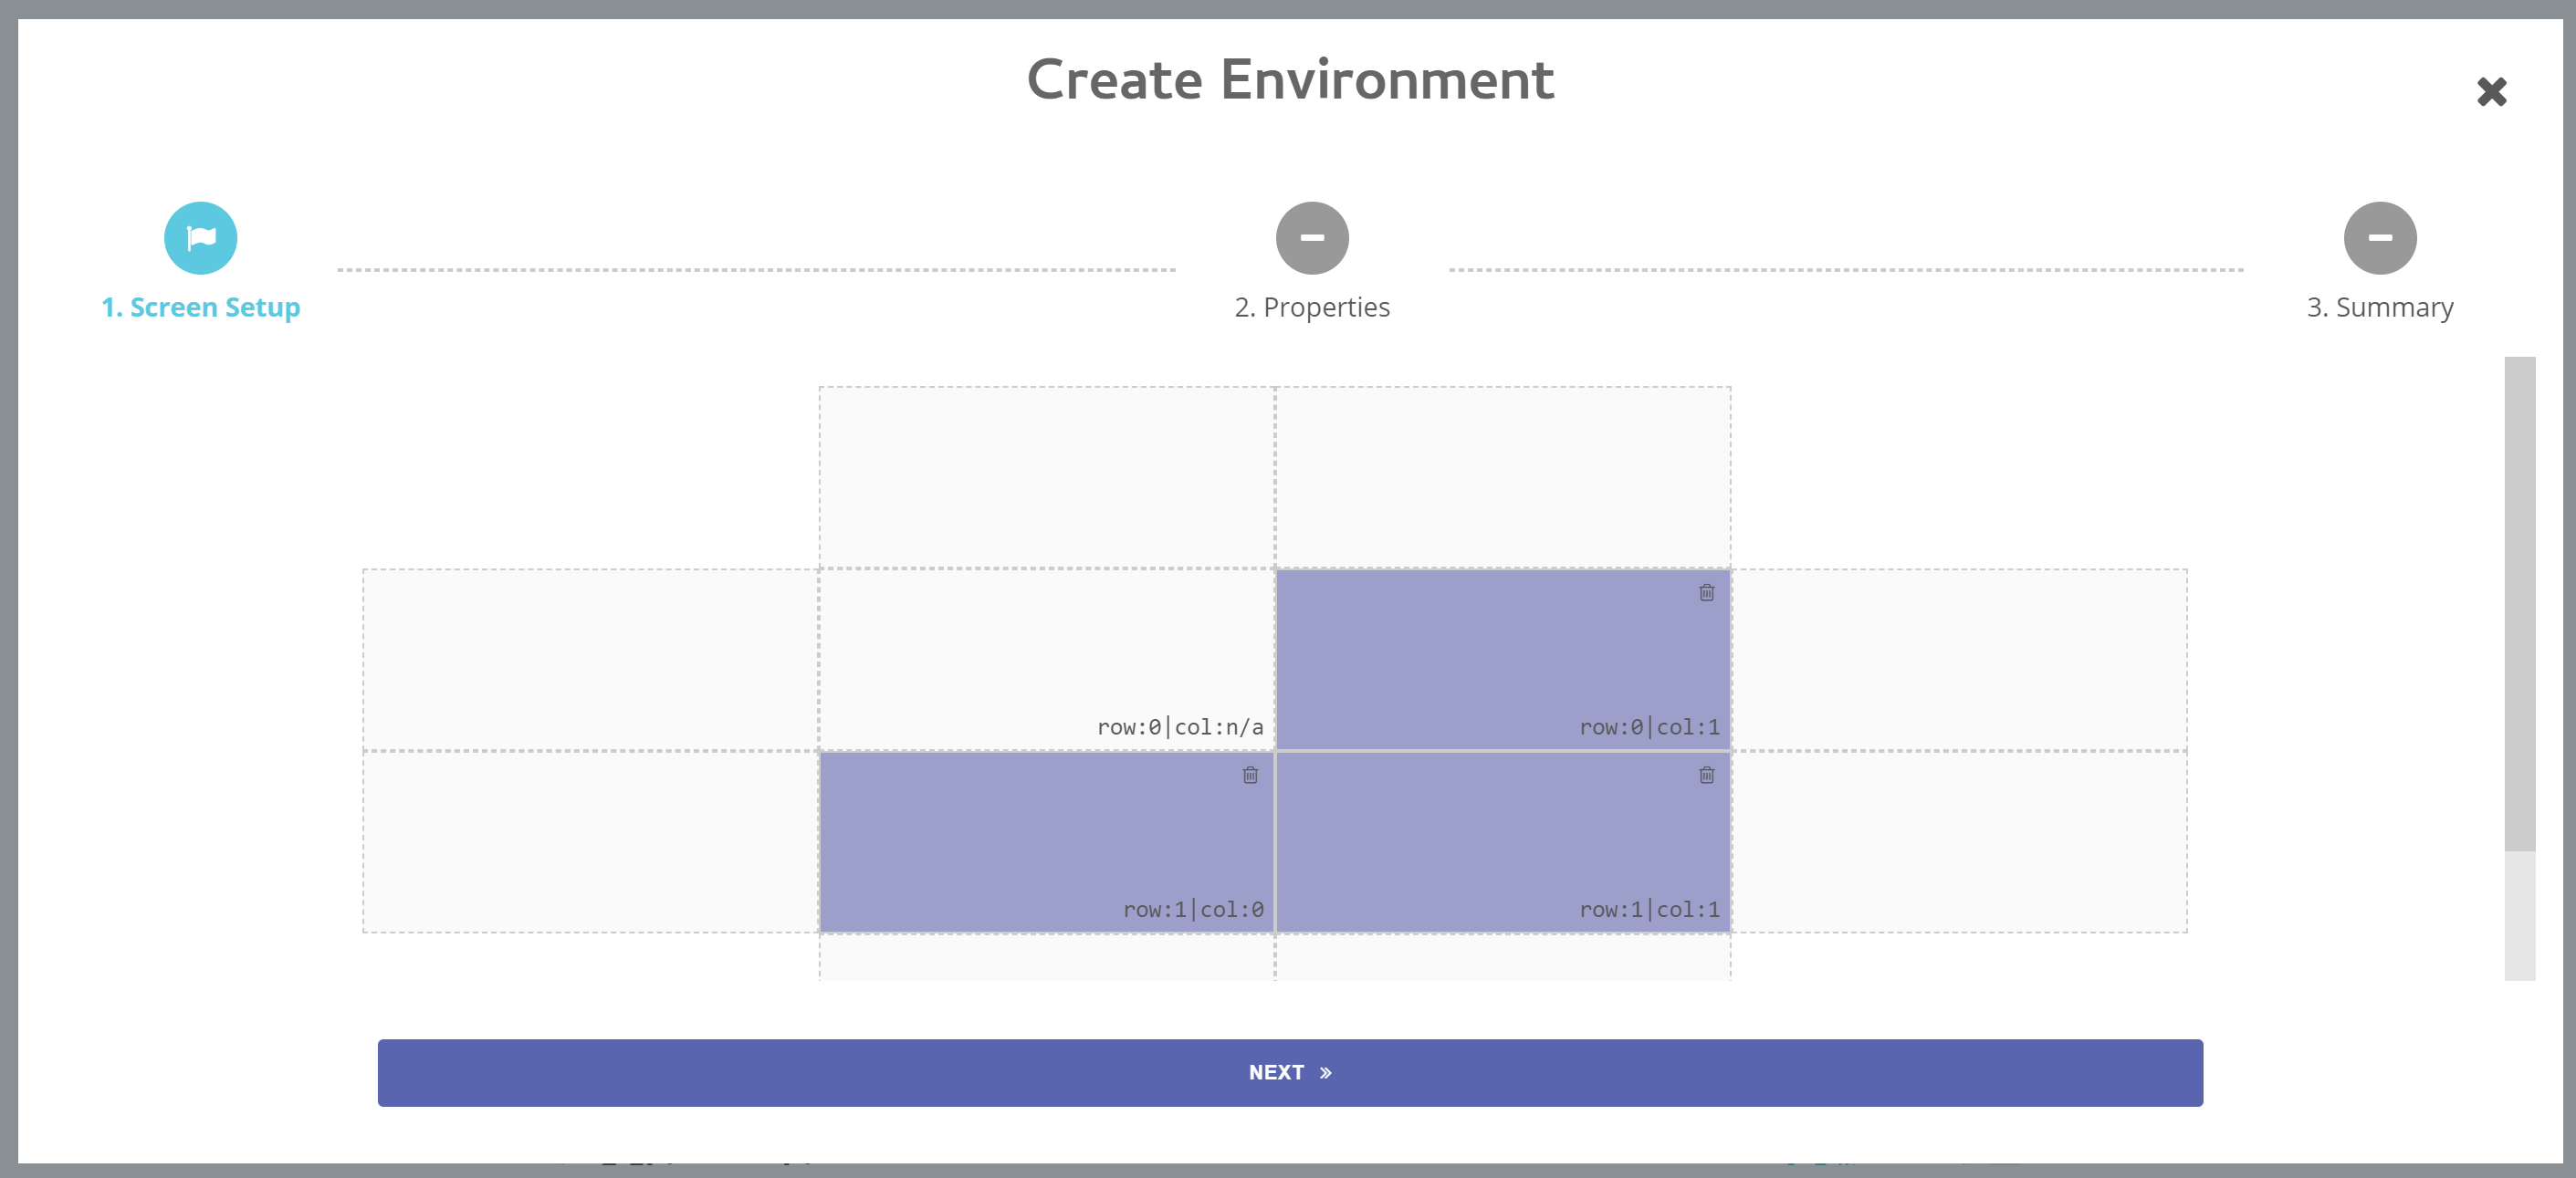
1. Click the  button to create a new Environment. The "Create Environment" page will then open.
2. Create a screen by clicking on the appropriate pane. Generate several to reflect an approximation of your physical multi-screen layout. In the example below, the user has three screens, two of them next to each other and one mounted above.
3. Click Next to name the Environment you want have just created e.g. "3 HD screens".
TIP: Try to avoid creating too many environments. If one is "close enough" it is probably better to reuse it. They are not resolution or aspect ratio sensitive, so you only need to create new layouts if:
- You have a different number of screens or they are in different positions
- You have radically different resolutions or aspect ratios. i.e. standard 4:3 or 16:9 or 16:10 aspect ratios are close enough to not worry. But introducing an "ultra-widescreen" monitor may require a new environment.
4. Optionally, add a description.
5. Click Next and a review page will open. Check that the information is correct and click Create to save the environment. After this, you are ready to establish Layouts for your Environment.
CREATE LAYOUTS:
If you clicked Create in the previous section, you will land on a page called Environment Details.
You get to the Environment Details page by double-click on an existing Environment.
Here you can setup and save all the application layouts you want for the selected environment (physical screen layout). Each square in a layout provides a target area for an application to open.
1. Press the  icon to create a new layout and enter a name; try to be descriptive and consistent. (for example; if you have 2 screens and you want to split the first vertically to create 2 "portrait shaped" areas and leave the second alone to provide 1 large "landscape shaped" area then 2P + 1L would be an effective name) . By default there is no layout so the screens appear mostly blank.
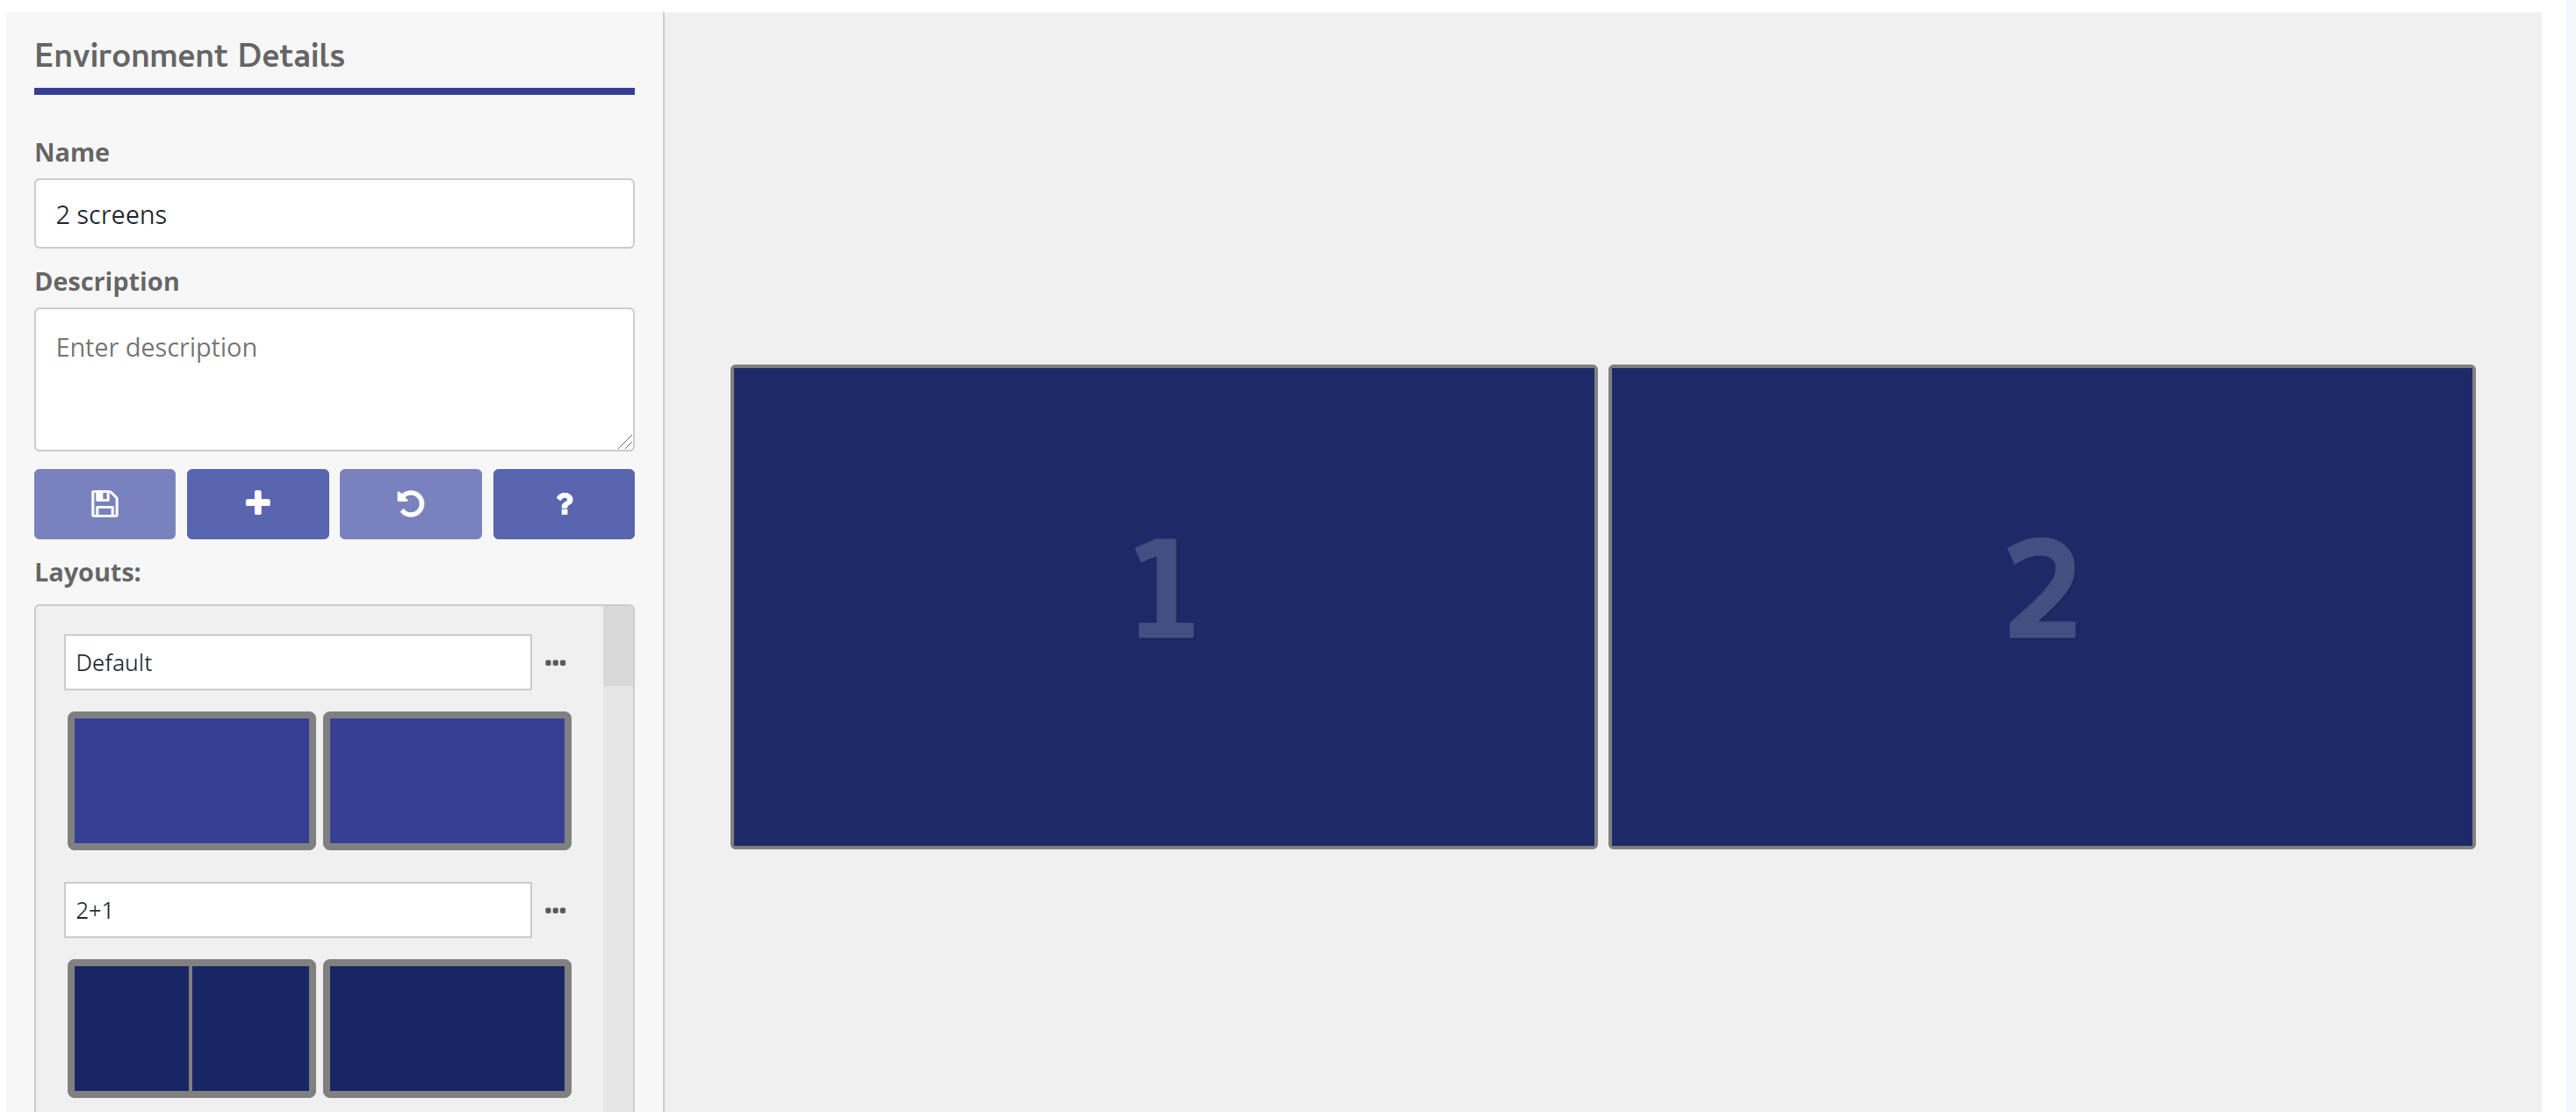
2. For speed you can double-click the screen to create a vertical split an area down the middle. You can double-click whilst pressing ALT on the keyboard to split an area horizontally across the middle. All splits are "relative", so a split down the middle will work on screens with different aspect ratios and resolutions; i.e. it will just be a split down the middle. The the right hand mouse button provides many more options.
3. Right-click on one of the screens to bring up all the options you have for creating screen layout under "Display options". Here is the meaning of the different:
| Display options | |
| Horizontal Split | The selected screen area is split horizontally down the middle (like double-click). You can change where the split is located using the height slider. |
| Vertical split | The selected screen area is split vertically across the middle (like ALT-double-click). You can change where the split is located using the width slider. |
| Remove | Remove a section/split |
| Clear screen | Removes all the division on the screens (to let you restart) |
| MORE ADVANCED FEATURES | |
| Reset margins | Removes border margins (see "Margin" below) |
| Combine screens | Combine screens; this allows you to put applications across multiple screen - which is useful for certain big screen applications or display walls. |
| Undo combined screens | Remove combined screens |
| Width/Height | You can use the width/height slider to adjust where an existing split is placed to move it away from the default "middle split position". |
| Margin | Margins are hard borders that you can place within any layout area that will force Enify to not use that screen area; it will open applications within them and leave the specified border. These are great for fine tuning complex layouts as they work in actual screen pixels, so may appear slightly different on different screens. you put edge margins on the screen so that this part of the screen does not become used by Enify to display items / information |
4. Once you are happy, add a description if you wish and click the  Save icon to save
5. Click the icon to create a new layout on the same Environment
6. Repeat the steps above until you have created enough layouts for your needs. In most cases, splitting a single screen into more than 3-4 areas is probably overkill.
USING A NEWLY CREATED LAYOUT:
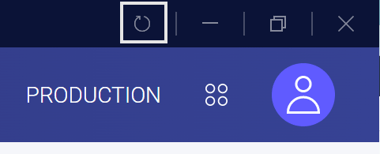
1. Press "Workspace"
2. Press the refresh button in the upper right corner
3. Click the  Layout icon at the top of the My work area
4. Select the Environment you have created by clicking on the paler box at the top
5. Choose your new layout from the options presented below the environment selector
Below you can see a video of how you can easily create an Environment, a layout for use in Enify: